Database as a Service (DBaaS) - Create Database Using OCI Console
Oracle Cloud Infrastructure
Database as a Service (DBaaS) - Create Database Service
In today’s session i will cover how to create database using DBaaS service on OCI.
- Create SSH Key
- Create Database Service using console
- Connecting to the VM using SSH
Create SSH Key :
How to generate private public keys using putty.
Generate SSH keys:
Step 1: Go to Putty Key Generator.

Step2 : Move your cursor around the blank area to generate random data in key.
Step 3: Generated key appears under Public Key for pasting into OPENSSH authorized key file.

Step 4: Save Private keys
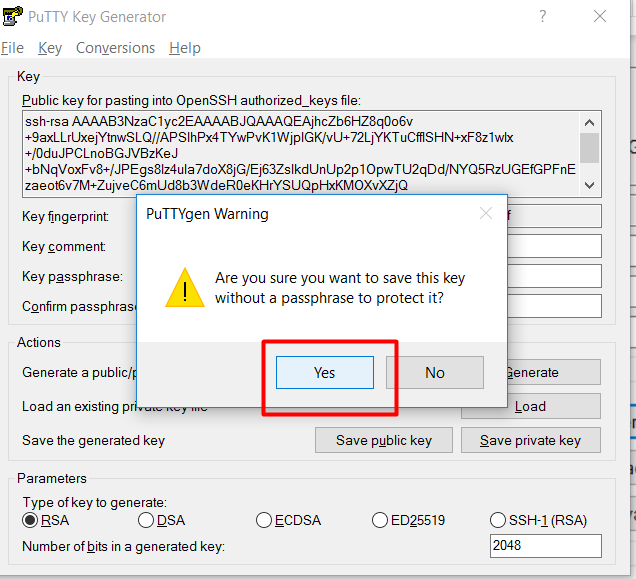
Step 5: Select all of the generated key that appears under Public key for pasting into OPENSSH authorized_key file, copy it , paste it into text file and then save the file on same location as the private key.
Create Database Service OCI console:
Log into your Oracle Cloud console using your credentials . if you don't have any account yet then you can create your personal trial account for 30 days on oracle cloud site.
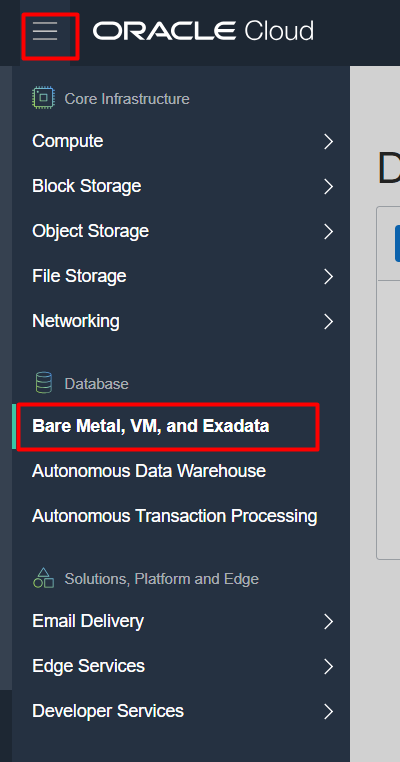
Log into the Oracle Cloud and navigate to the Oracle Cloud Infrastructure (OCI) console.
Use the top-left menu to select the "Bare Metal, VM and Exadata" option.
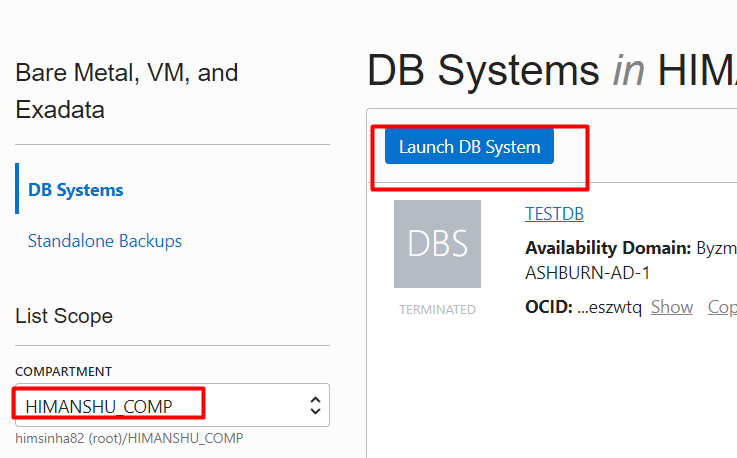
Select the compartment and click on the "Launch DB System" tab.
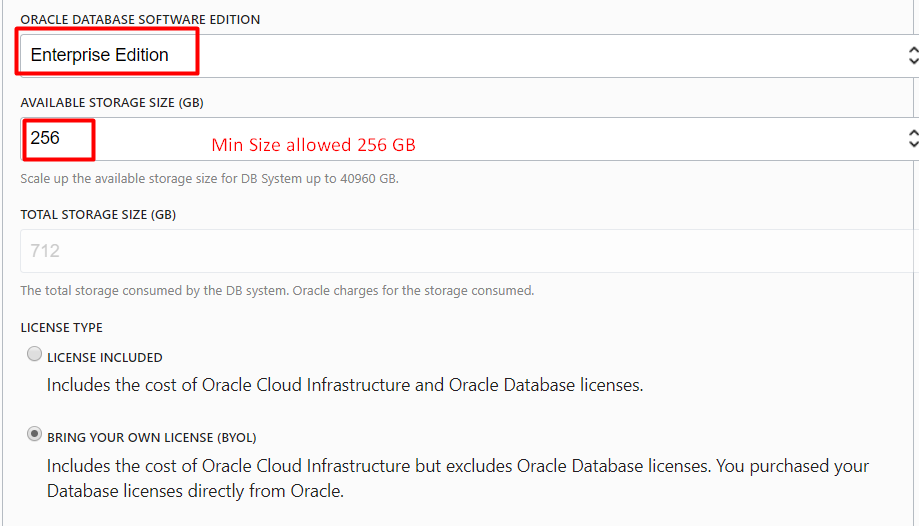
It will ask you few information about database and network.

Chose Oracle Edition type in my case it it Enterprise Edition.
Paste ssh public keys which we had generated in step 1.

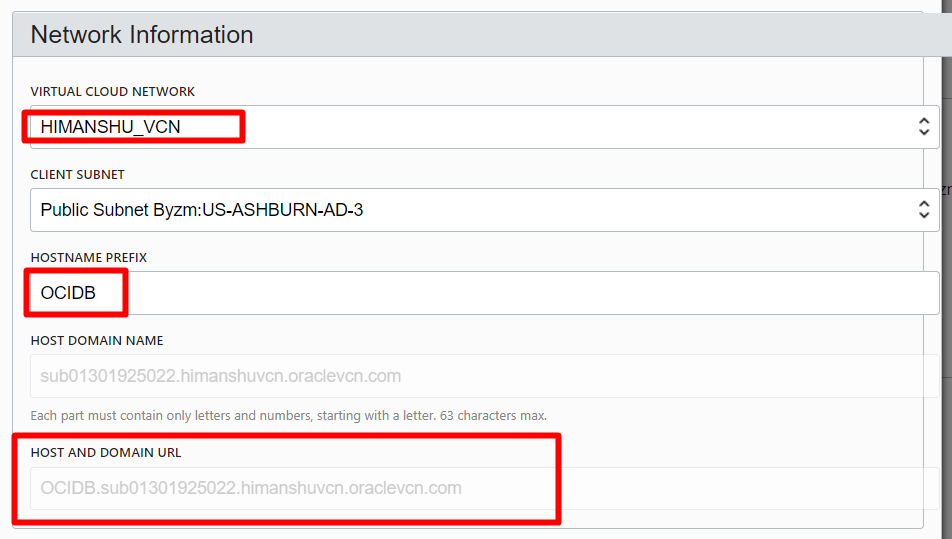
Chose VCN, Sunbet and mention any prefix which you want to add with host and domain URL.
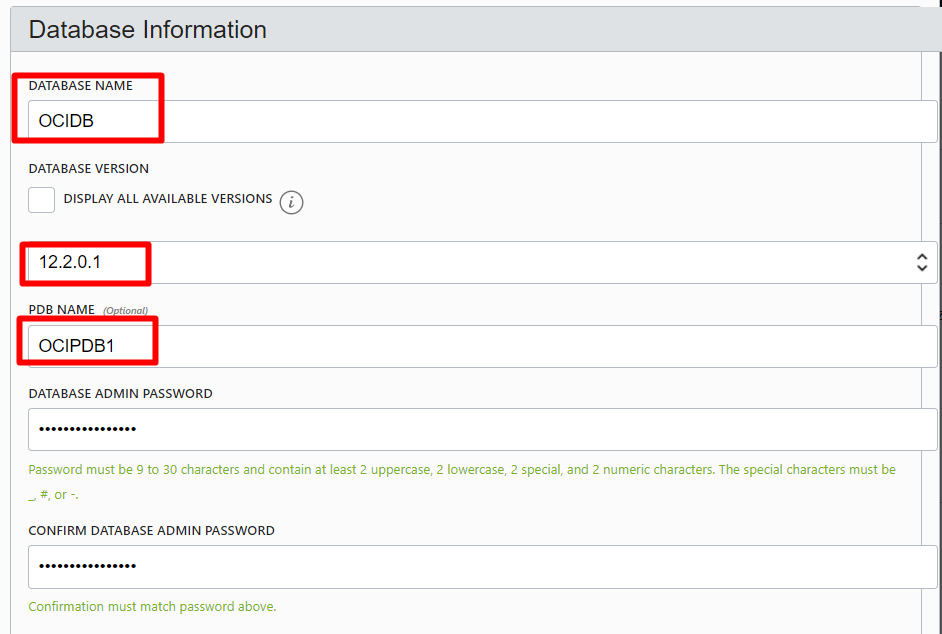
Provide DB name, chose DB version you would like install, mention PDB if you want to create.
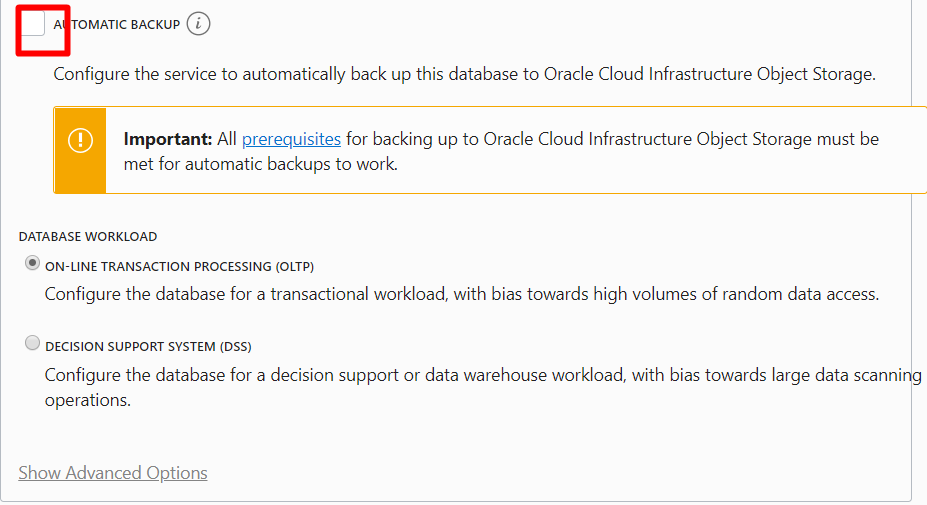
Check Automatic Backup if you like to create backup along with instance. I will do later so i am ignoring for now.

Click on Launch DB System.
Right after Launch DB system and it will be in provisioning state:

It will take some time so let's get coffee break . It took around 45 minute for me to provision DB instance.
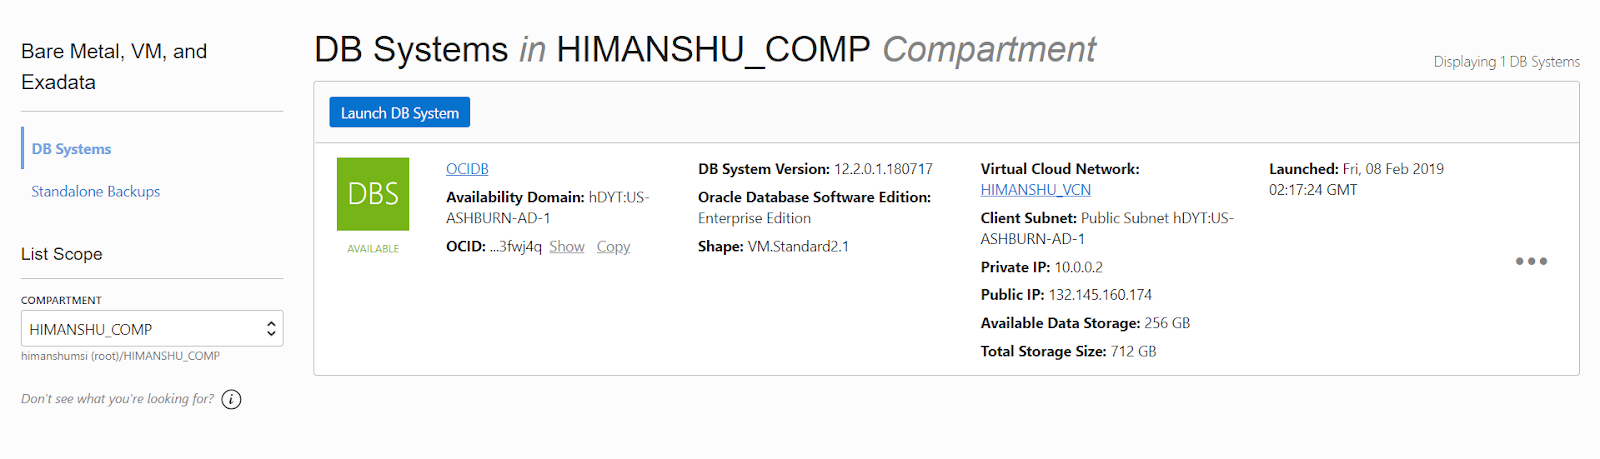
DB is available now.
Let's explore little bit here .
Click in OCIDB Instance name:


Click on Patches and see how many patch is available to apply on new instance.

Patching and Backup we will cover in later session.
Connecting to the VM using SSH:
Connect to the "opc" operating system user by specifying your private key and the public IP address from your DB Systems page.
Let's use putty in case of windows system:
Get Public IP from console and then open putty:
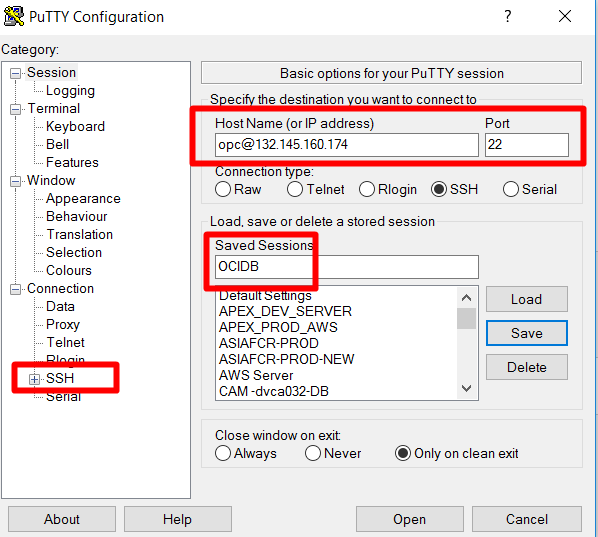
Click on SSH and auth and add your private keys file .

Click Open

Accept Yes


If you would like to connect to root, you must connect to the "opc" user and run them using "sudo".
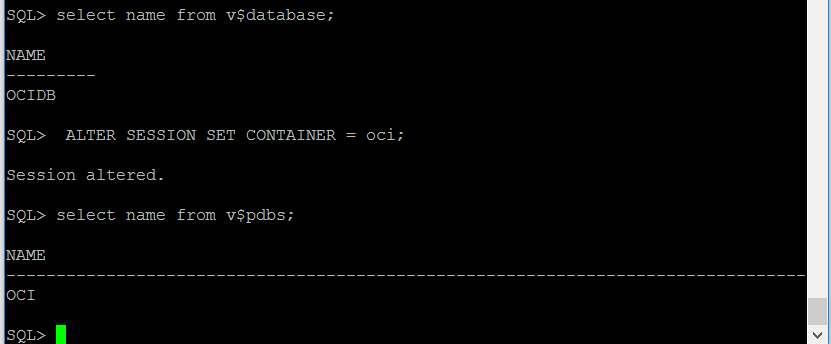
We all set to connect to DB Instance.
Happy Learning .
In Next session we will see how to connect DB from SQL Developer.
Comments
Post a Comment