Oracle Cloud Instance Creation ,Virtual Cloud Network, Block Volumes, File Storage - OCI
How to generate private public keys using putty.
How to create a compartment in OCI.
How to create Virtual Cloud Network in OCI
How to provision instance in OCI.
How to connect to OCI instance using Putty.
How to create Block volumes in OCI.
How to attach Block Volumes to an instance and mounting the same at the instance OS level.
How to create File Storage(NFS).
How to create security list rules to access File storage for the instance.
How to mount file storage in the instance.
How to generate private public keys using putty.
Generate SSH keys:
Step 1: Go to Putty Key Generator.

Step 2 : Move your cursor around the blank area to generate random data in key.
Step 3: Generated key appears under Public Key for pasting into OPENSSH authorized_key file.

Step 4: Save Private keys

Step 5: Select all of the generated key that appears under Public key for pasting into
OPENSSH authorized_key file, copy it , paste it into text file and then save the file
on same location as the private key.
How to create a compartment in OCI
Create Compartment : Compartment help you organize and control access to your resources.
A compartment is a collection of related resources (such as cloud networks, compute instances
or block volumes ) that can be accessed only by those groups that have been permission by
an administrator.
Now, in the menu go to Identity and click compartments to create a new compartment.
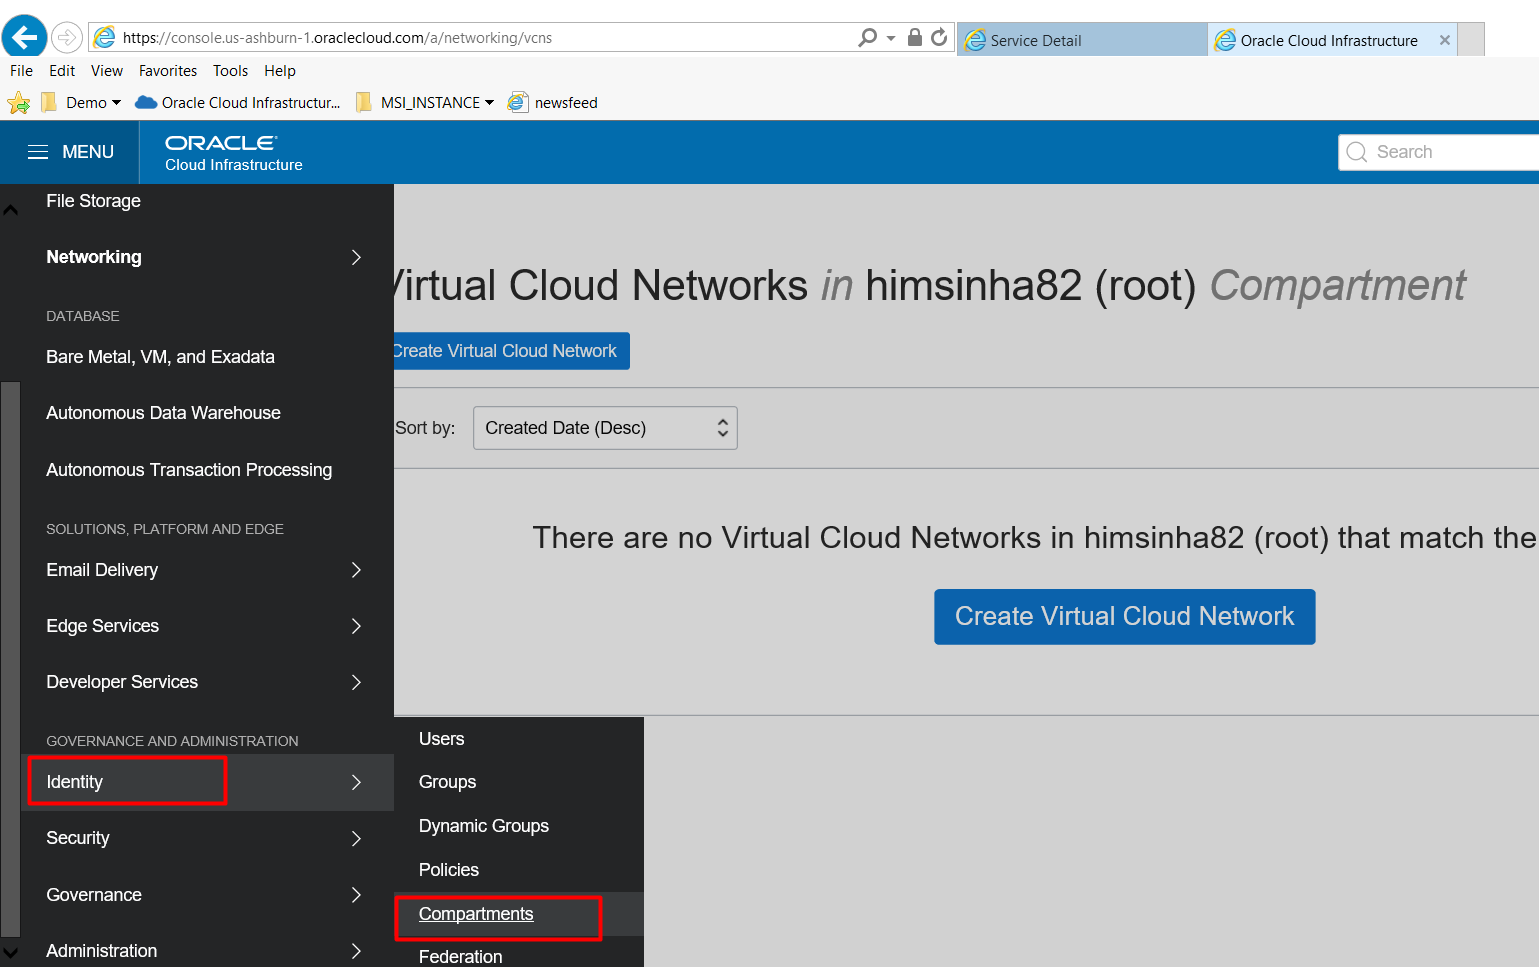
Click on create compartment and give the details as below.

Click Create Compartment.

Click on Create Compartment.
Once compartment created it will show like this.

Click on View Compartment Details to see more information.
How to create Virtual Cloud Network in OCI
Before you can launch an instance , you need to have virtual cloud network(VCN) and subnet to launch in it. A subnet is subdivision of your VCN that you define in a single availability domain. The subnet directs traffic according to a route table.
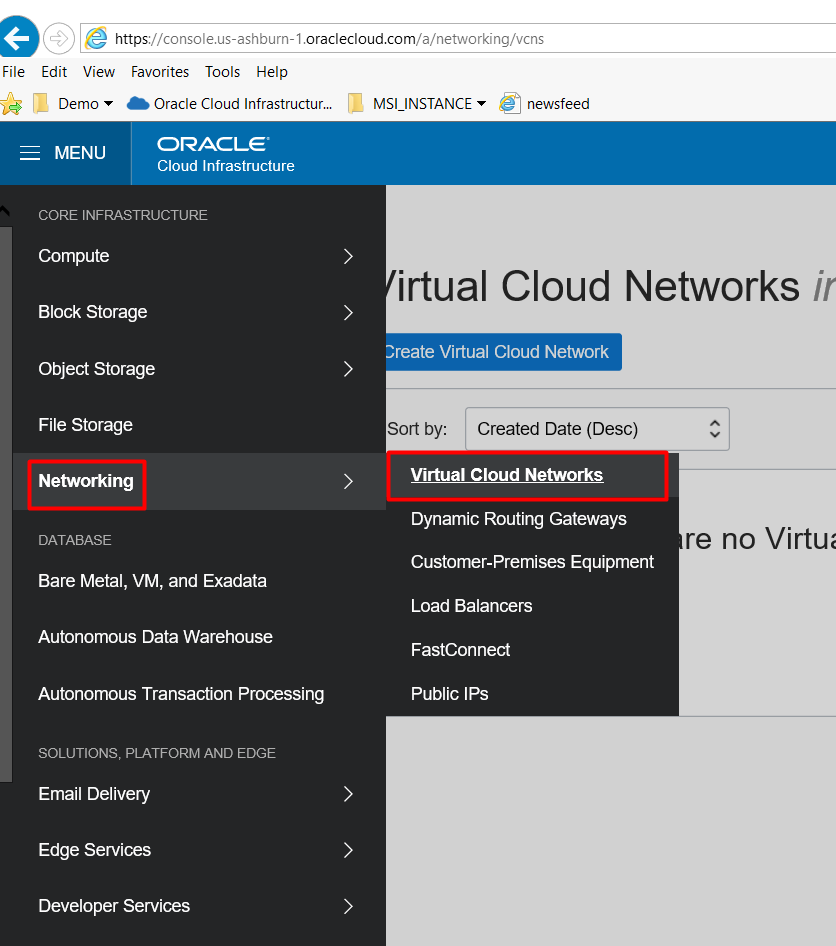
Now, in the menu go to networking–>Virtual Cloud Network–> Create Virtual Cloud Network.
Chose Compartment

Now Click on Create Virtual Network .
Here are 2 options to Create virtual cloud network only option because instead of OCI itself
create subnets.
create subnets.
If you choose option Create virtual cloud network plus related resources, then OCI itself
create all its necessary resources like subnets etc. I am going with this options for now.
create all its necessary resources like subnets etc. I am going with this options for now.

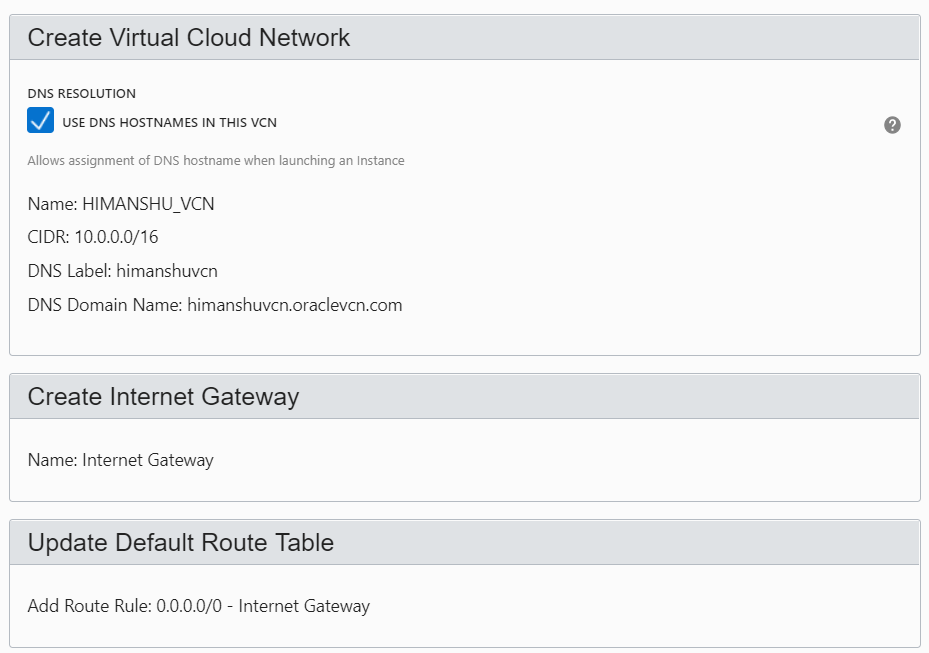
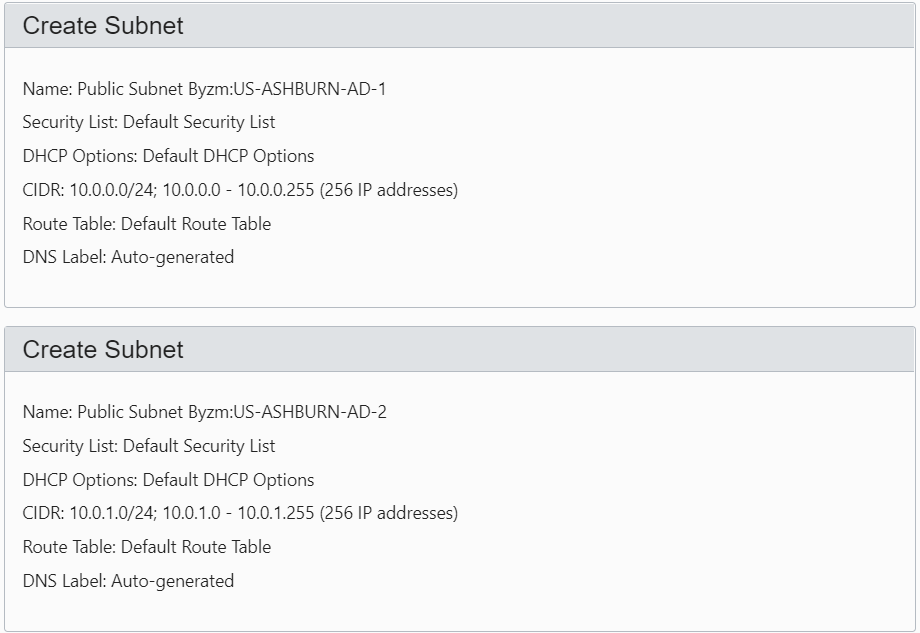
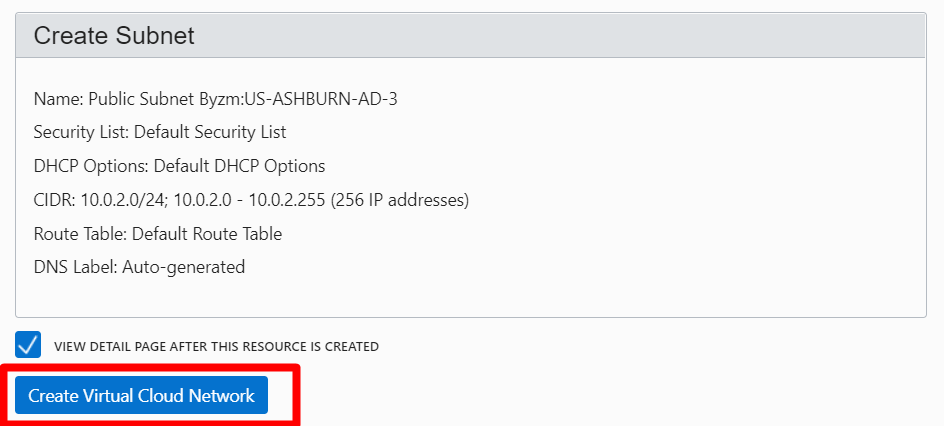
This will create Subnet in each Available Domain Zone.
Here is Output:

VCN Created Now:
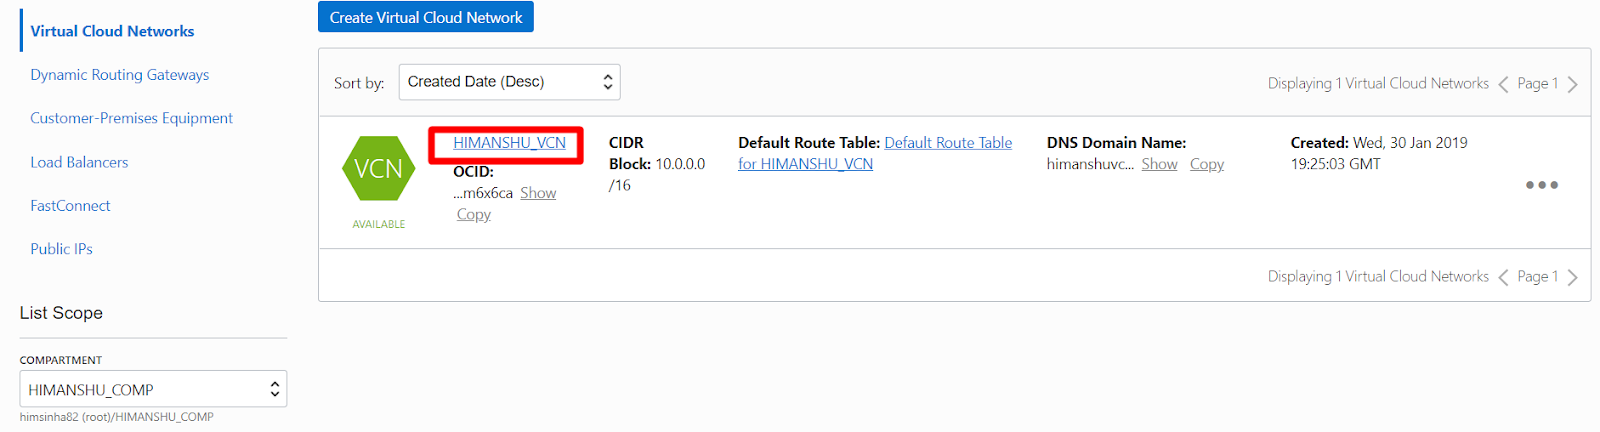
Click on View VCN Details and verify all Subnet create successfully or not. If all looks good we
can move further.
can move further.
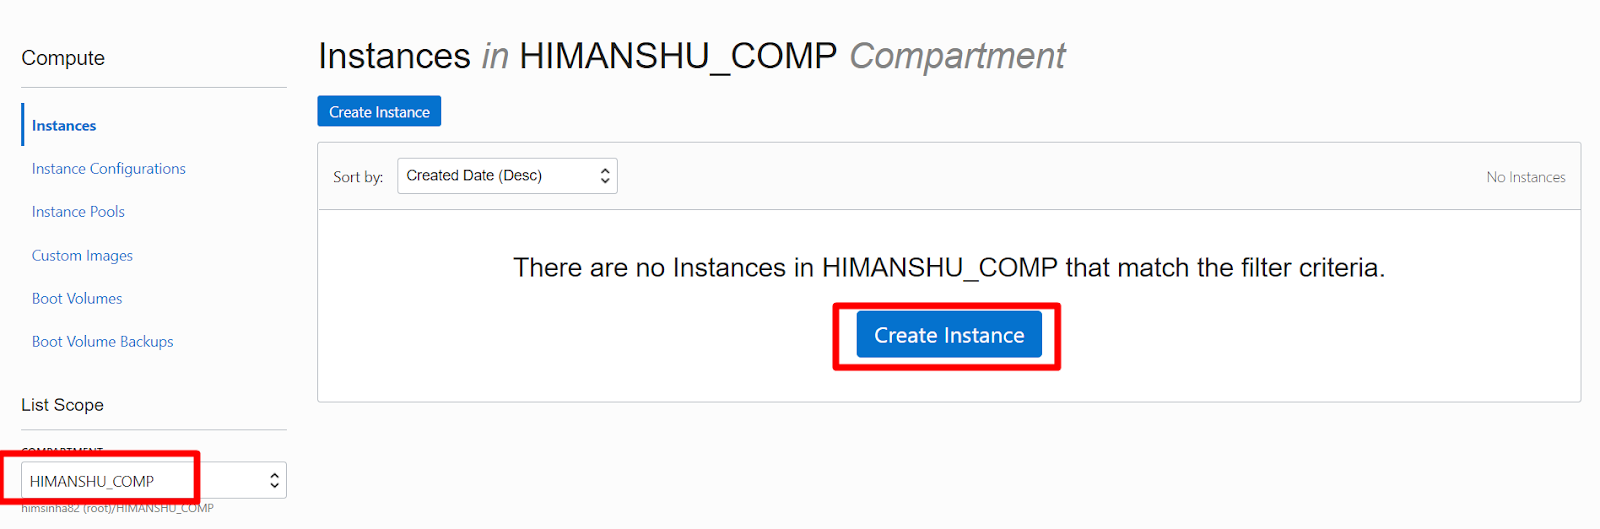
How to provision instance in OCI
Now, provision the instance with image Oracle Linux 7.6 using the VCN created above in its
specified compartment.
specified compartment.
Launching an Instance:


Default is latest 7.6 Image but if you want to install other then chose change image source.
Here is list of available images.
Here is list of available images.
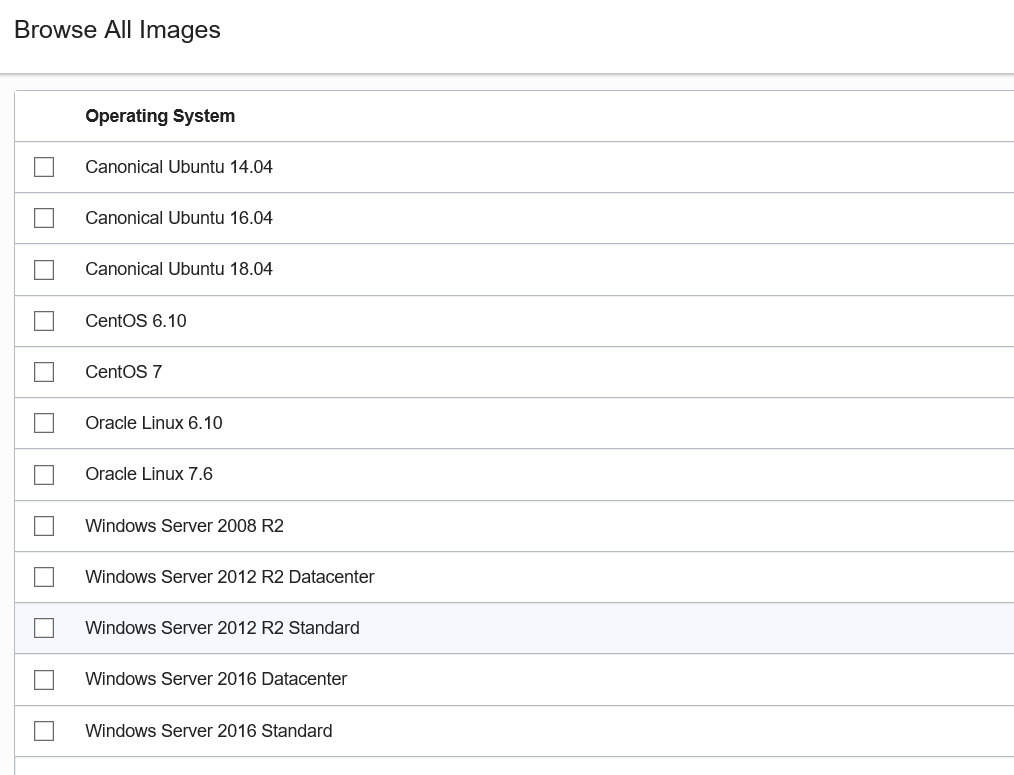
I am going with latest version 7.6 .


Paste Public key here which we generated in phase 1.

Click on Create Instance now.
Now it is provisioning Instance:
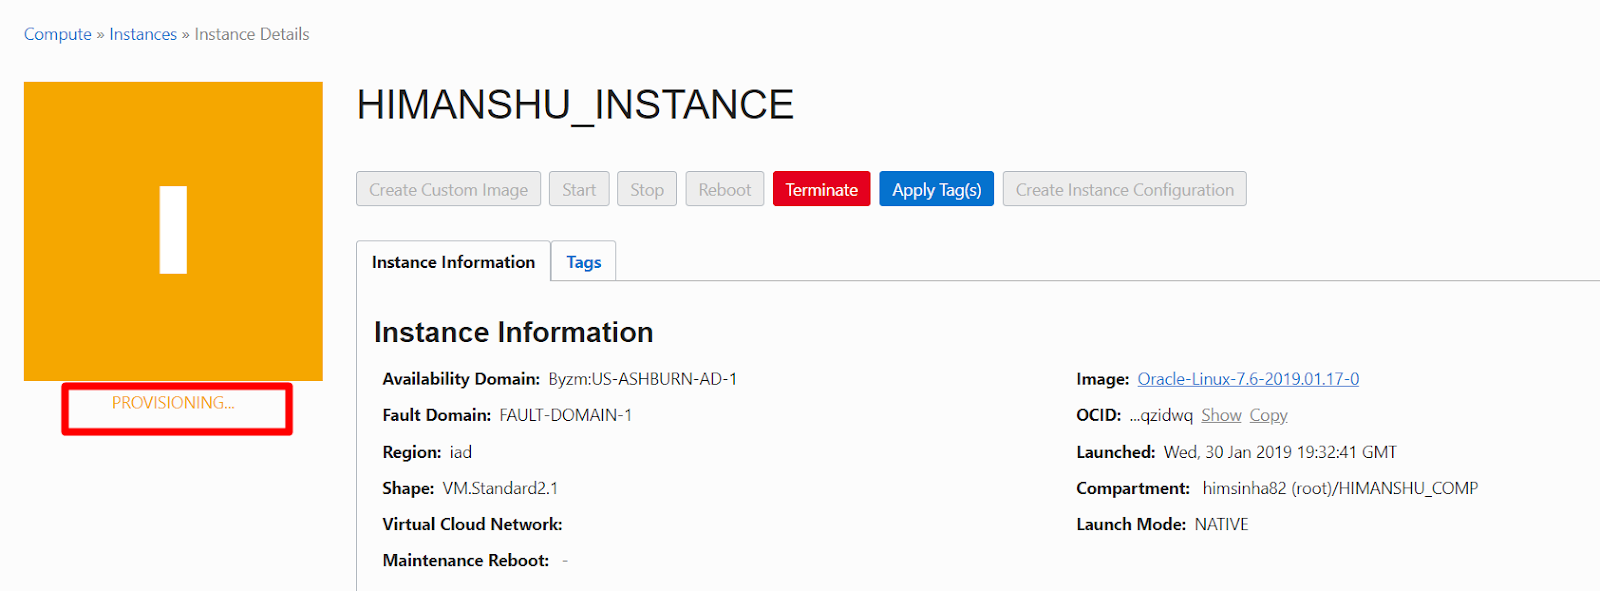
By the time it is provisioning instance .
If you would like to go through how Shape and Version terminology used in OCI please go through
below link: Specially VM Shape , DB Editions options.
below link: Specially VM Shape , DB Editions options.
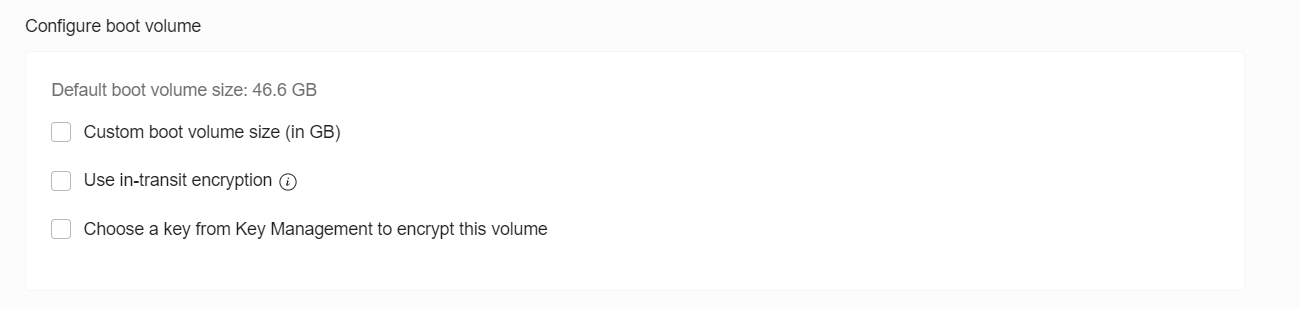
Now Instance has been provisioned and we can see public IP allocated for our instance:

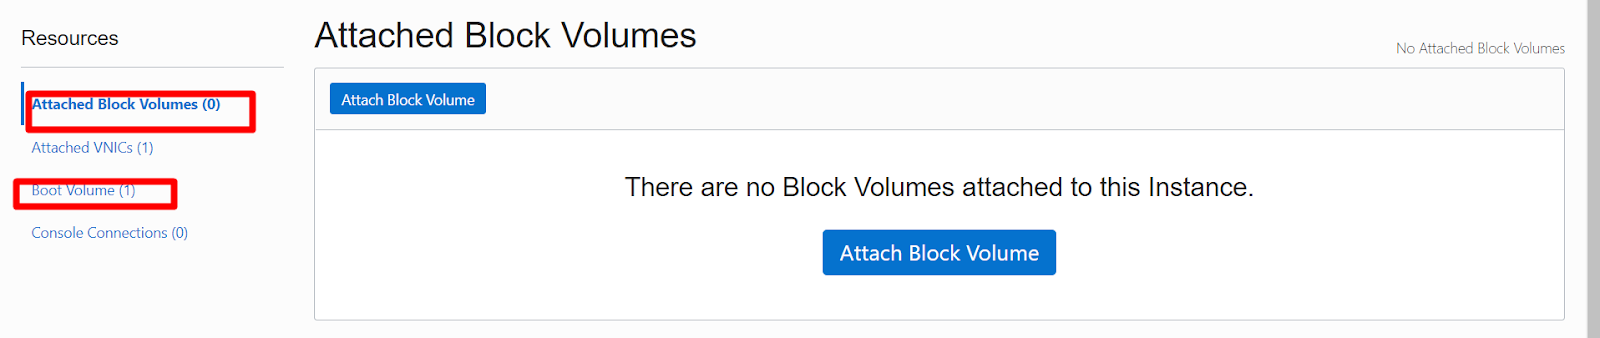
Let Review little bit here.
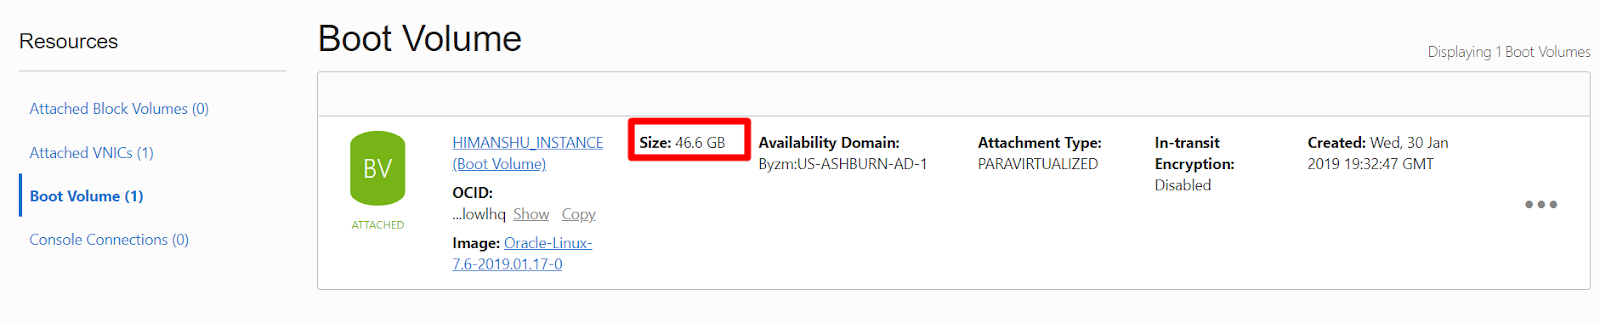
No Block Volume but we do see default Boot Volume.
Now Our Instance is ready to connect from Putty.
How to connect to OCI instance using Putty
Copy Public IP from Instance Details:

Copy the public ip address of the instance to connect through PUTTY:
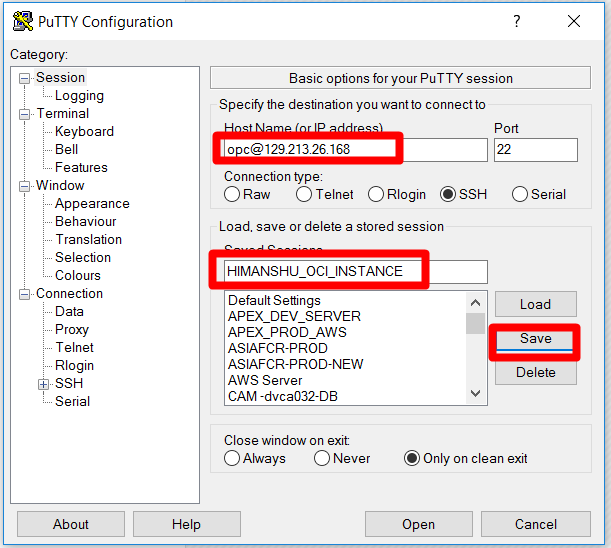
Then Go to SSH -- Auth and Add Private Key files which was generated during SSH key generation.

Save the Session and click OPEN.

Click Yes and Proceed Further.
Hurry Finally we are connected On OCI Instance.
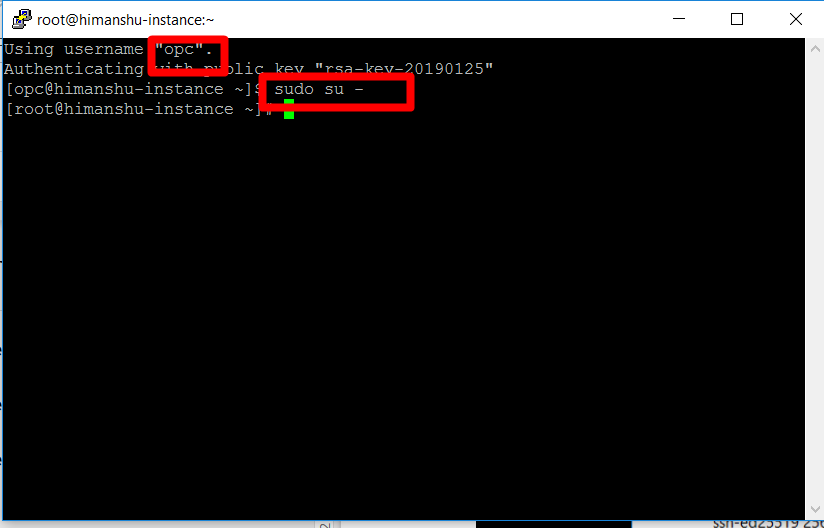
Sudo su - to get root access.
Lets Review little bit here.

How to create Block volumes in OCI
How to attach Block Volumes to an instance and mounting the same at the instance OS level.
Creating and attached Block Volume .
Let's Get Started.
Step 1 :
After creating an instance, need to attach block volumes where our actual data will be stored.


Create Block Volume:

Click Create Block Volume :
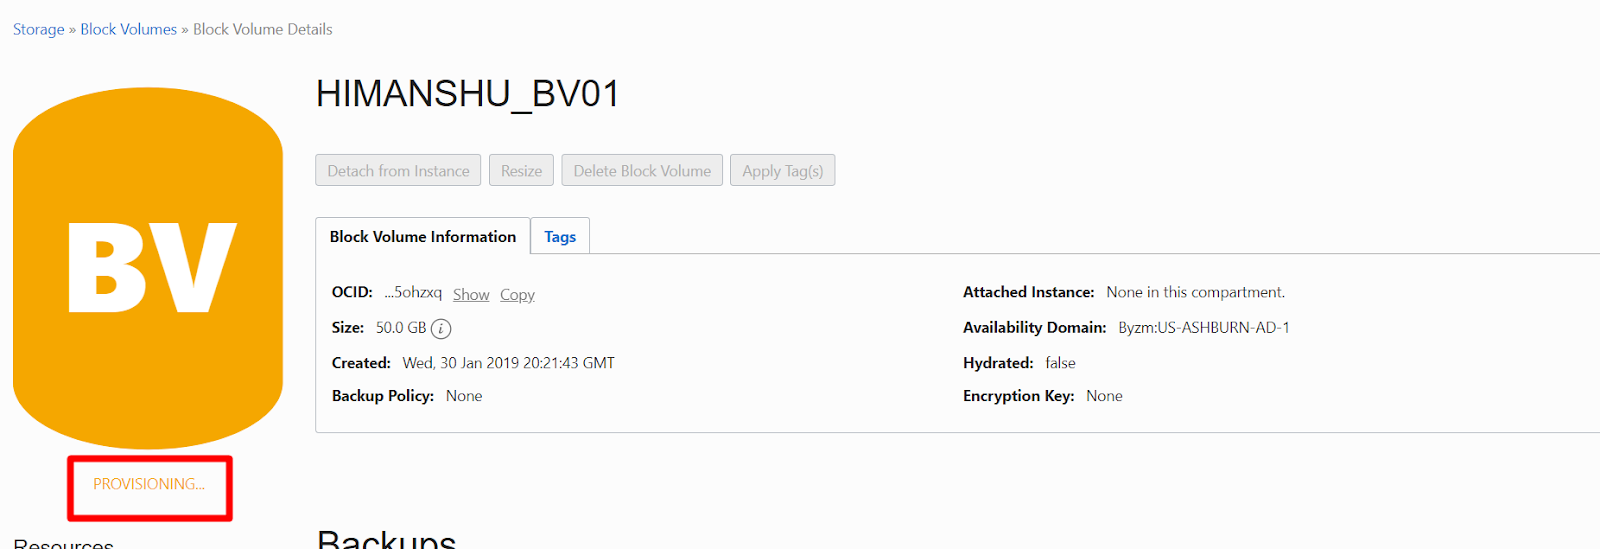
Now it is in provision state.
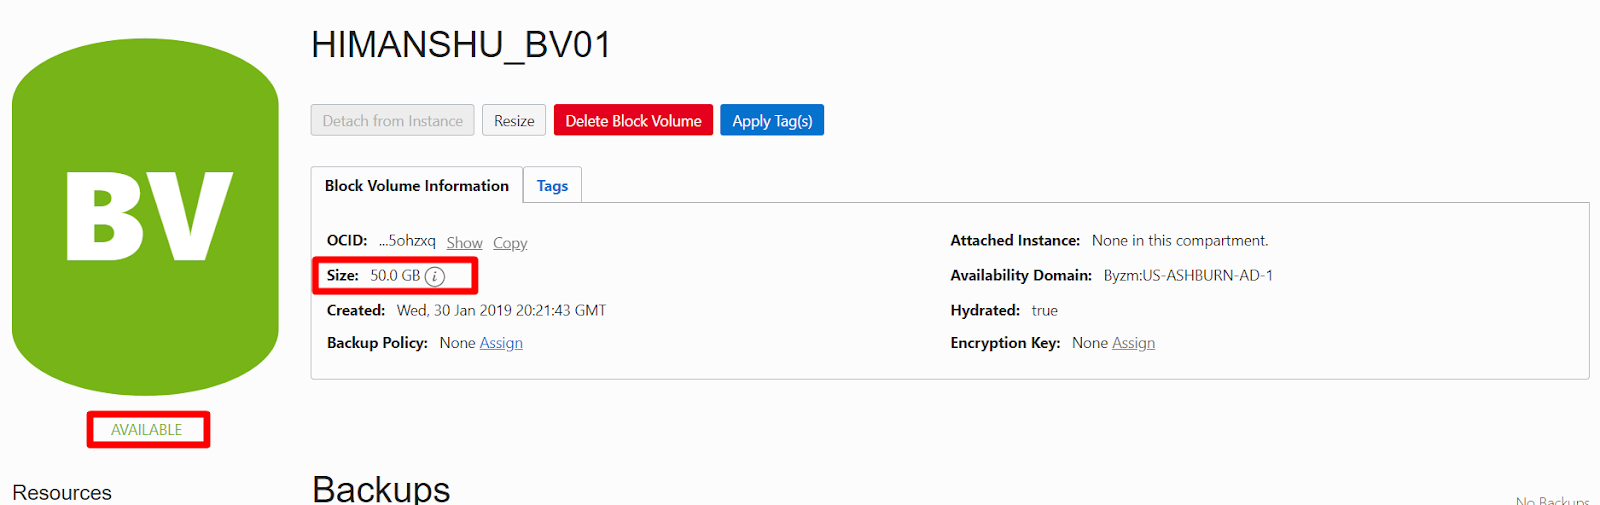
Verify details.
Next : Now attach the block volume created going to instance Attach block volumes option.
Go to Instance where you want to attached Volume:
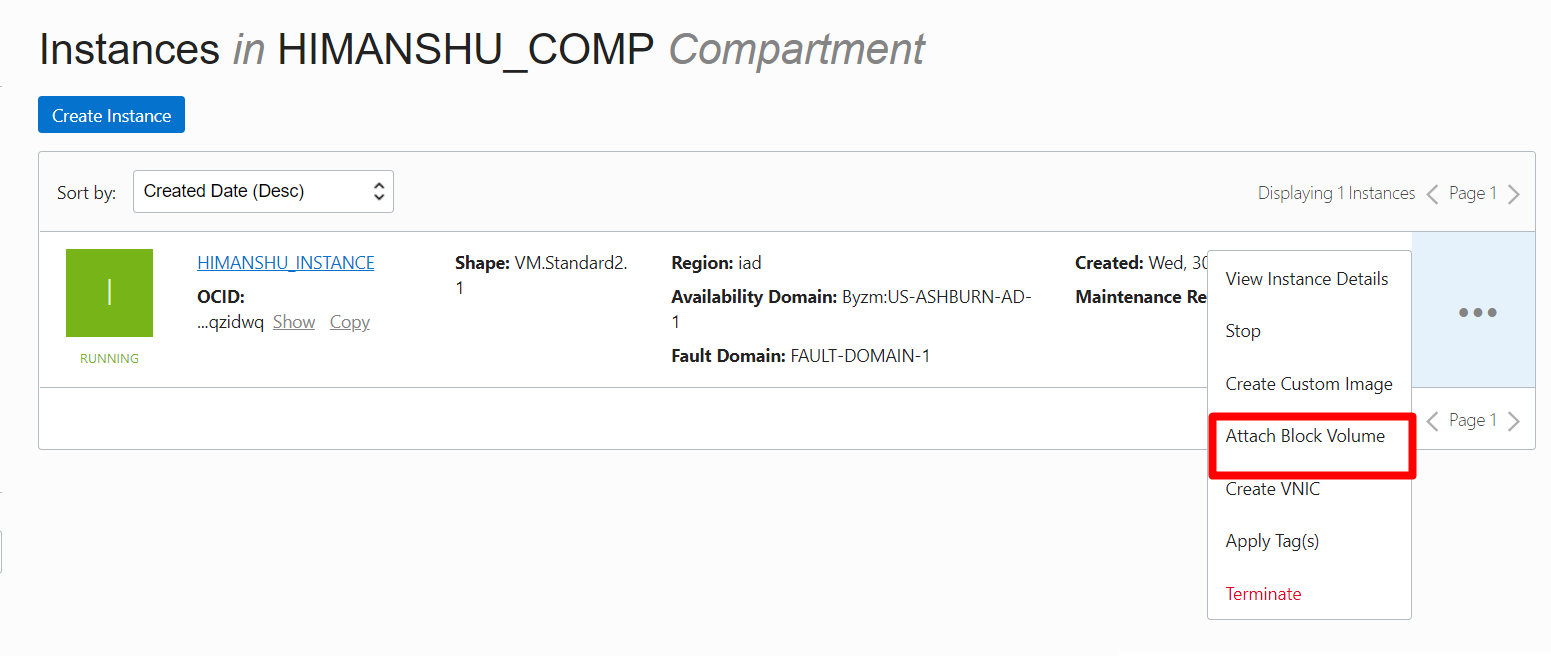

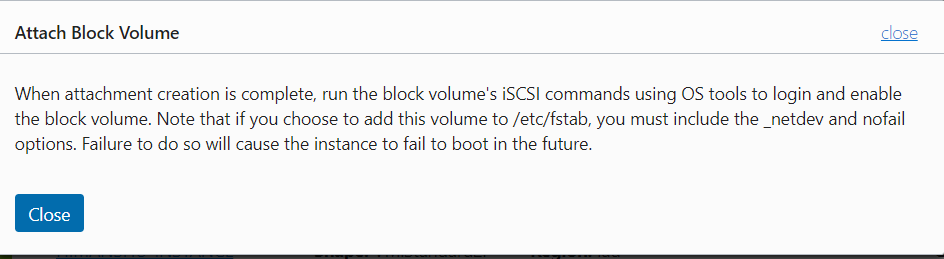
Click Attach
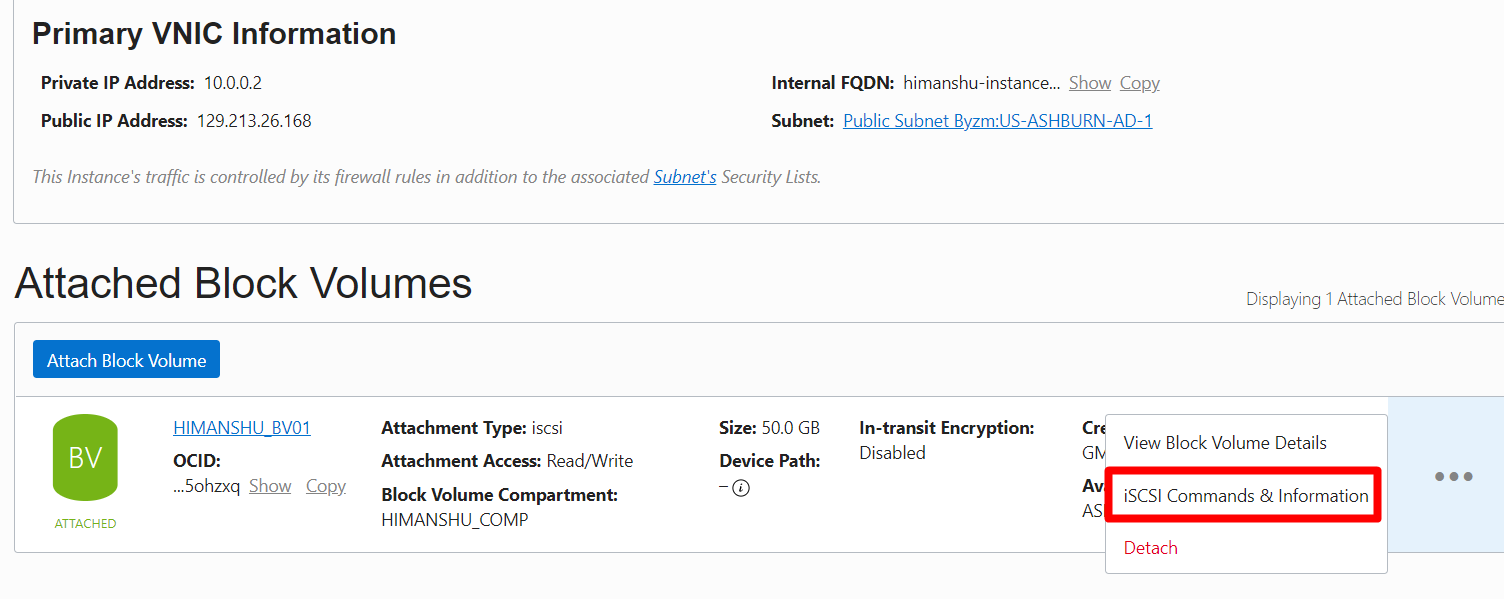
Click on iSCSI Commands & Information to get the commands for to execute on the instance.
Click on View Instance Details:
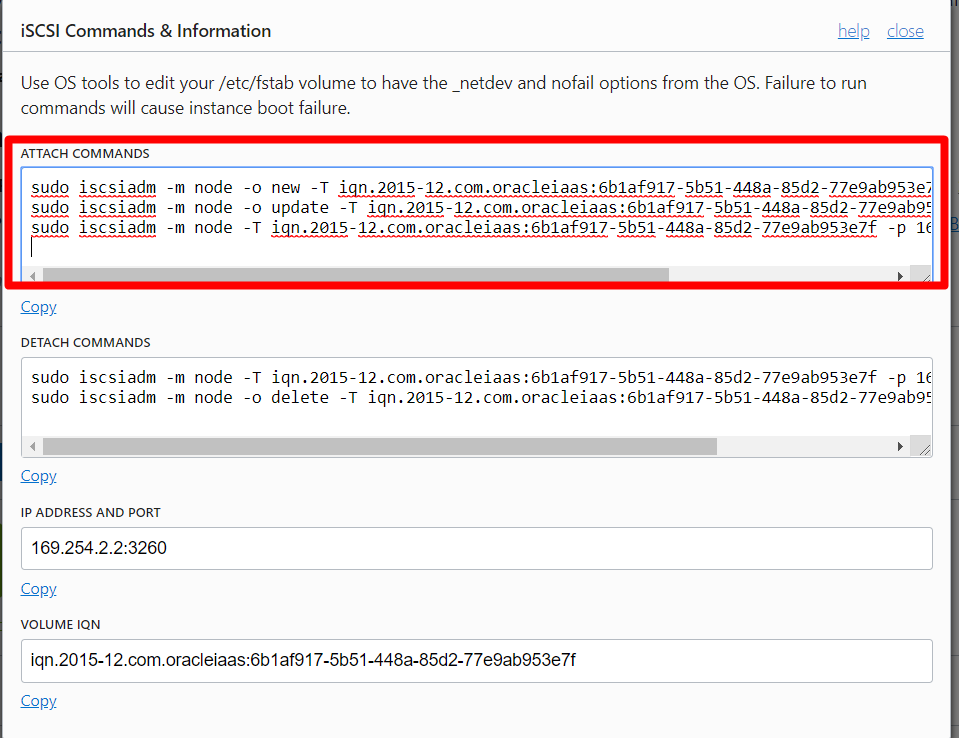
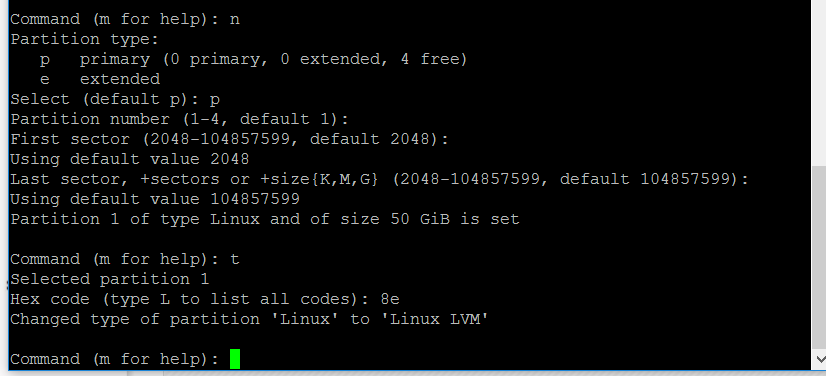
Execute the commands got from above screenshot, list the block volume, create a partition,
create a physical volume, Volume group, Logical volume and format with XFS file system and
mount it as shown below.
create a physical volume, Volume group, Logical volume and format with XFS file system and
mount it as shown below.

Block Volume Attached :
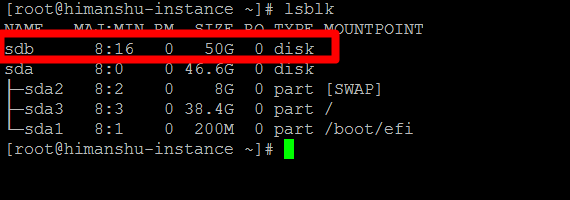
Create Partition : [root@himanshu-instance ~]# fdisk /dev/sdb


[root@himanshu-instance ~]# partprobe /dev/sdb
[root@himanshu-instance ~]#
[root@himanshu-instance ~]#
[root@himanshu-instance ~]# fdisk -l /dev/sdb
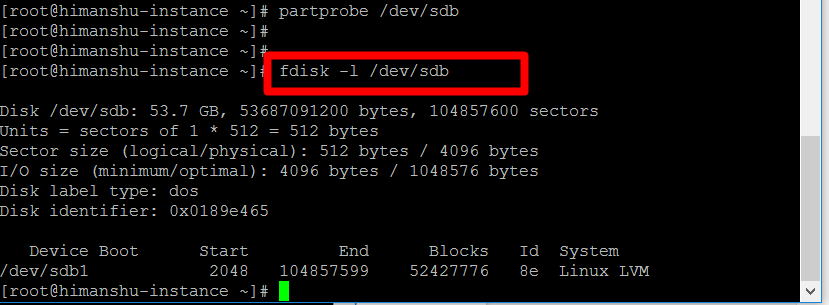
[root@himanshu-instance ~]# pvcreate /dev/sdb1
Physical volume "/dev/sdb1" successfully created.

[root@himanshu-instance ~]# vgcreate u01 /dev/sdb1
Volume group "u01" successfully created

[root@himanshu-instance ~]# lvcreate -l +100%FREE -n u01 u01
Logical volume "u01" created.

[root@himanshu-instance ~]# lvdisplay
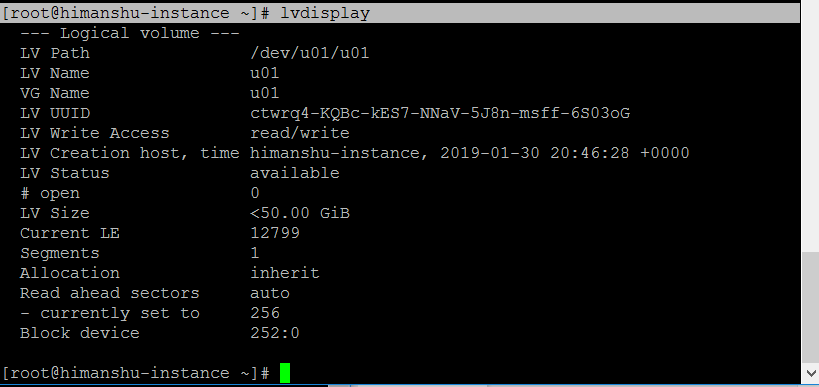
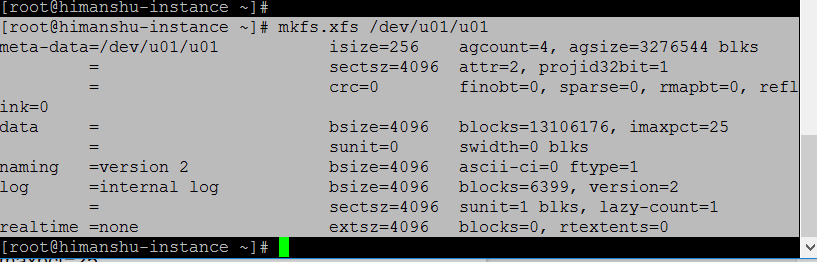
[root@himanshu-instance ~]# mkfs.xfs /dev/u01/u01
[root@himanshu-instance ~]# mkdir -p /u01
[root@himanshu-instance ~]# blkid

Make fstab entry for permanent fix :

Now Finally Mount new volume: mount -a
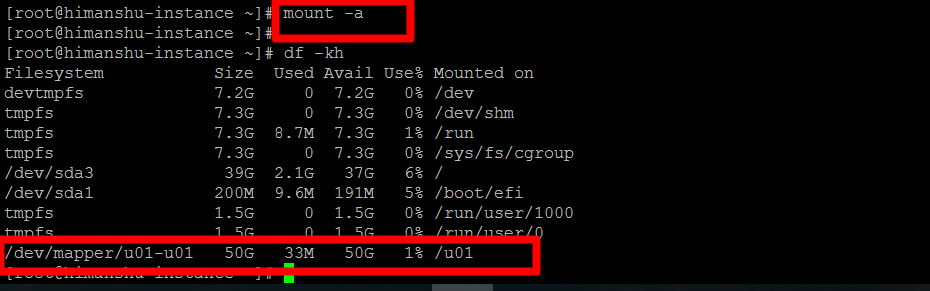
Now You all set to install any application on this server.
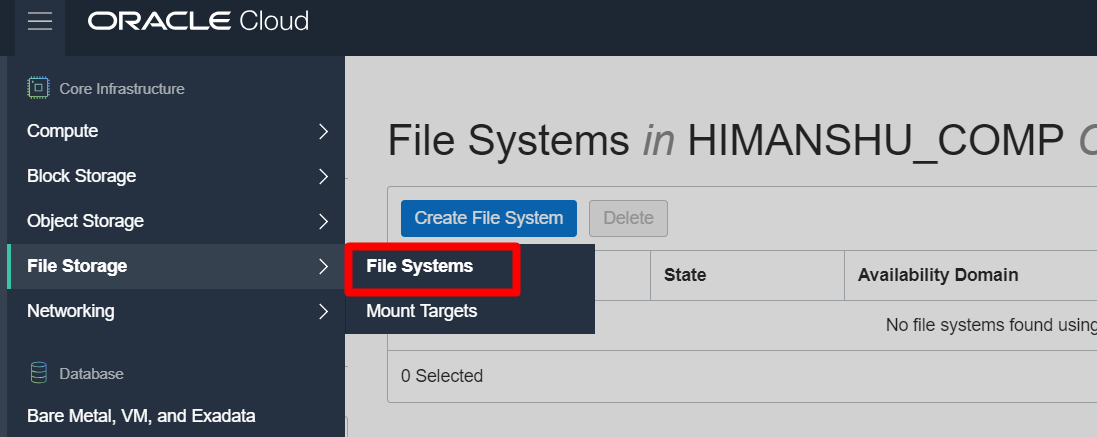
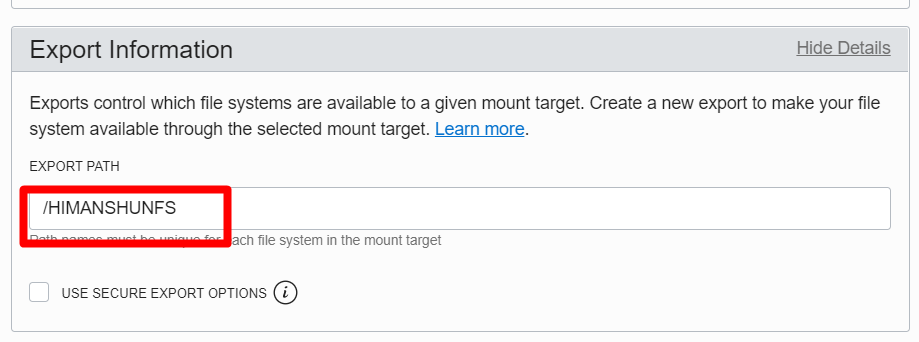
How to create File Storage(NFS).
How to create security list rules to access File storage for the instance.
How to mount File storage in the instance.
Let's Started:


Click Edit


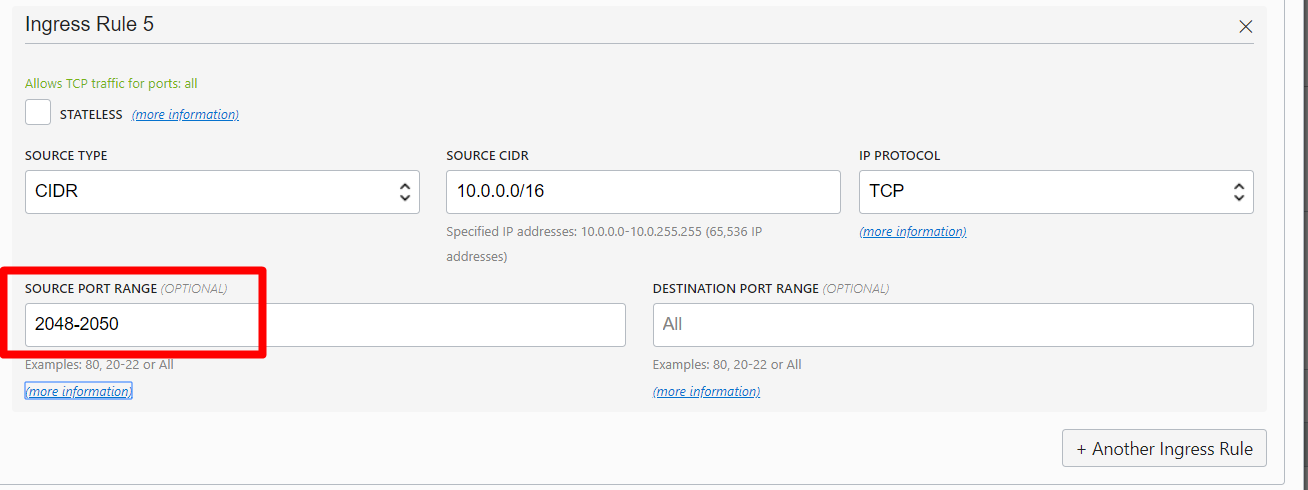
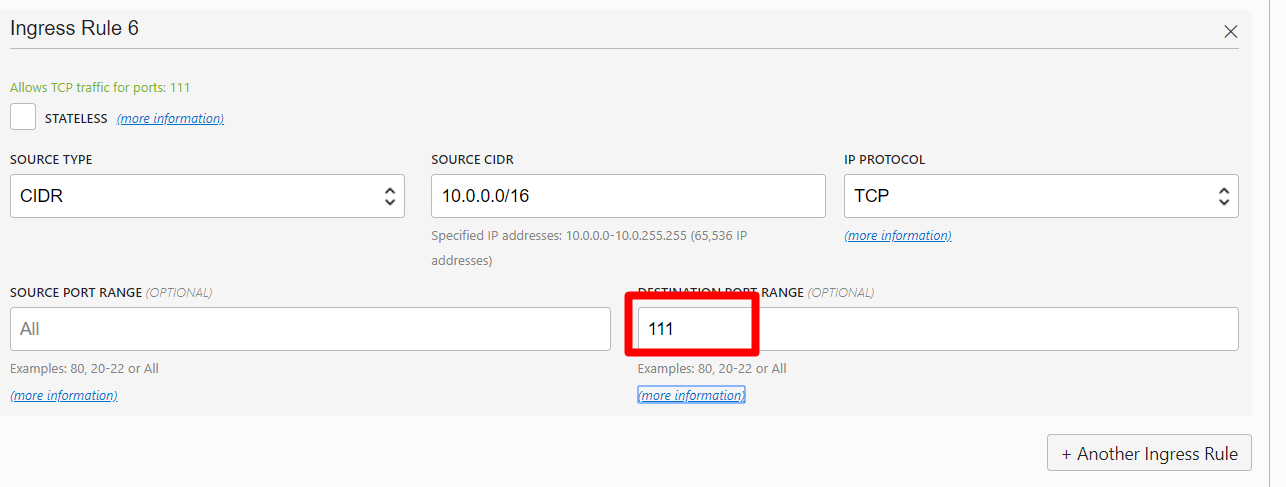
To access the File system storage, we need to add the below security rules in the security list of the Virtual Cloud Network.
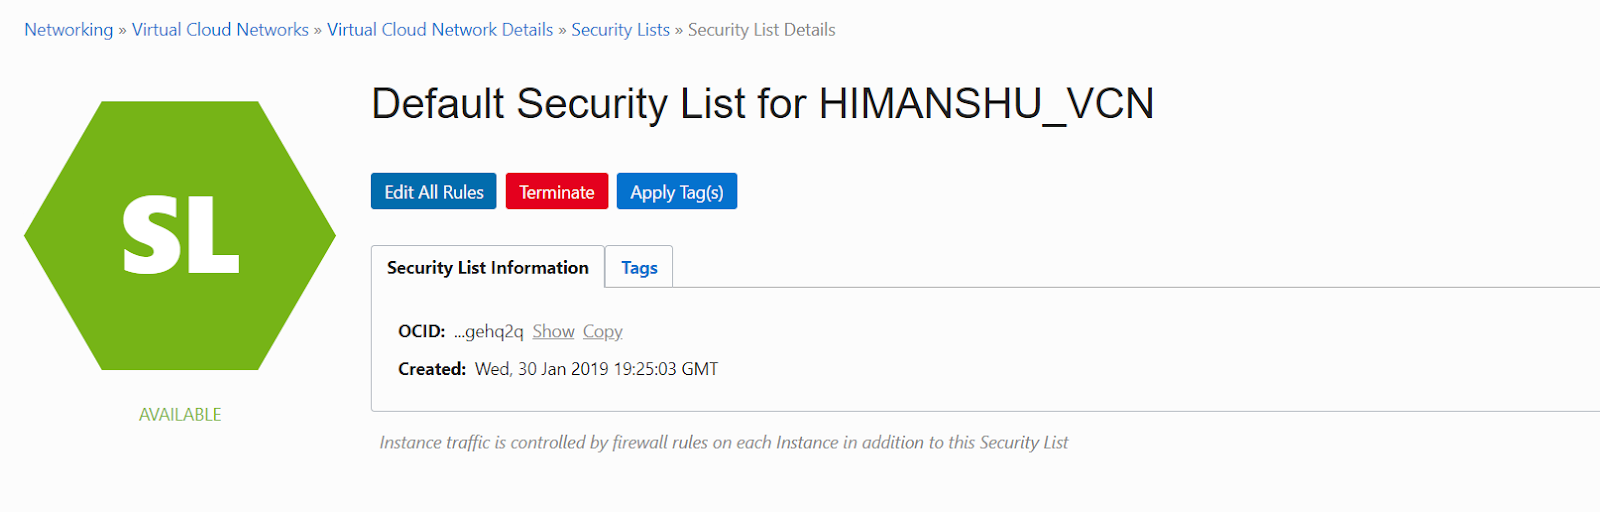
Add Ingress Rule 4 on existing List


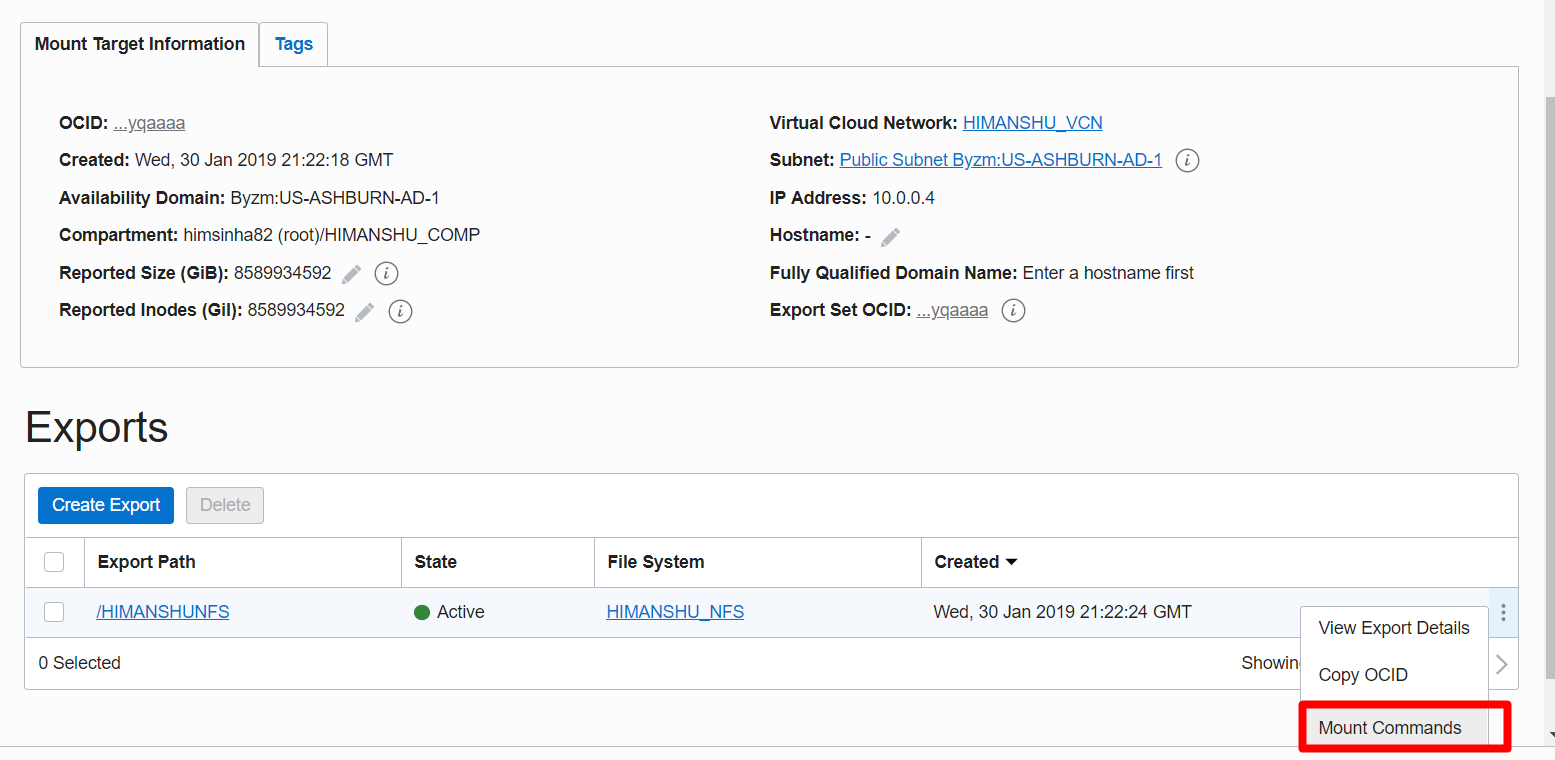
Now go to file storage, click on mount commands and execute the same commands on the instance to mount the file storage


[root@himanshu-instance ~]# sudo yum install nfs-utils
Loaded plugins: langpacks, ulninfo
Package 1:nfs-utils-1.3.0-0.61.0.1.el7.x86_64 already installed and latest version
Nothing to do
[root@himanshu-instance ~]# sudo mkdir -p /mnt/HIMANSHUNFS
[root@himanshu-instance ~]# sudo mount 10.0.0.4:/HIMANSHUNFS /mnt/HIMANSHUNFS

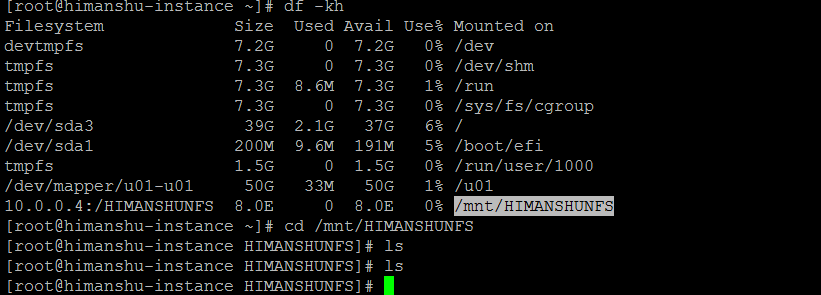
NFS has been mounted properly .
Happy Learning .
Comments
Post a Comment